Grow Delicious Sugar Snap Peas This Spring: 3 Easy Steps
There’s a unique joy that comes with gardening, and few experiences rival the delight of plucking a crisp, sweet sugar snap pea straight from the vine. As the days lengthen and the last whispers of winter fade, gardeners everywhere feel that familiar tug – it's time to prepare for spring planting! Among the earliest and most rewarding crops, sugar snap peas are an absolute must-have for any home garden. Their vibrant green pods offer a burst of flavor, and their easy-to-grow nature makes them perfect for both seasoned green thumbs and enthusiastic beginners. This spring, transform your garden into a haven of fresh produce by
planting sugar snap peas for spring with our simple, three-step guide.
Why Grow Your Own Sugar Snap Peas This Spring?
Beyond the sheer pleasure of watching your garden flourish, cultivating sugar snap peas offers a bounty of benefits that make them an ideal choice for your spring planting efforts.
- Unmatched Freshness and Flavor: Store-bought snap peas, while convenient, often pale in comparison to the crisp sweetness of homegrown varieties. When you grow your own, you can enjoy them at their peak ripeness, savoring a taste that's simply unparalleled.
- Significant Cost Savings: You might have noticed fresh sugar snap peas becoming increasingly pricey at the grocery store. By planting sugar snap peas for spring: grow more & save money is a tangible benefit. A single packet of seeds can yield pounds of delicious pods, offering incredible value and reducing your grocery bill.
- Edible Shoots and Continuous Harvest: The benefits extend beyond the pods! Young pea shoots are a gourmet delight, perfect for salads or stir-fries, offering a delicate pea flavor even before the pods mature. Plus, consistent harvesting encourages the plant to produce more, extending your yield throughout the season.
- An Ideal Spring Crop: Sugar snap peas thrive in the cooler temperatures of spring, making them one of the first vegetables you can plant. They are relatively cold-hardy and can tolerate light frosts, giving you a head start on your spring garden.
Whether you're aiming for a modest handful of plants or dreaming of a lavish harvest to rival a commercial farm, the enthusiasm for sugar snap peas is infectious and well-deserved!
Step 1: Prepare for Success – Timing, Pre-Sprouting, and Soil Prep
Successful gardening begins long before the seeds hit the soil. For sugar snap peas, proper timing and preparation are crucial for a thriving harvest.
When to Plant Sugar Snap Peas
Sugar snap peas are cool-season crops, meaning they prefer temperatures between 55-75°F (13-24°C). The ideal time for
planting sugar snap peas for spring is typically 4-6 weeks before your last anticipated spring frost, or as soon as the soil can be worked. Don't be afraid to plant them early; they are quite resilient! Depending on your region, this could be anywhere from late February to April. Keep an eye on your local weather forecast, but generally, when the threat of hard freezes has passed and the air begins to warm, it's prime time.
The Power of Pre-Sprouting
This step is a game-changer for many gardeners and highly recommended for sugar snap peas. Pre-sprouting your peas indoors before planting ensures higher germination rates and a less stressful start for your young plants. It allows you to visually confirm that the seeds are viable and have already begun their journey of growth. This method practically guarantees that once they're in the ground, they'll pop through the soil within days, rather than leaving you to wonder if they’re rotting unseen beneath the surface.
To pre-sprout:
- Soak your sugar snap pea seeds in water for 12-24 hours.
- Drain the water and place the soaked seeds in a damp paper towel.
- Fold the paper towel around the seeds and place it inside a sealed plastic bag or container.
- Store in a warm location out of direct sunlight.
Within 2-5 days, you'll see small white roots (radicles) emerging from the seeds. Once they've sprouted, they're ready for the ground! For a more detailed guide, check out our article on
Pre-Sprout Sugar Snap Peas for a Stress-Free Spring Garden.
Soil Considerations and Amendments
Sugar snap peas thrive in well-draining soil that's rich in organic matter. A slightly acidic to neutral pH (6.0-7.0) is ideal. Before planting, amend your soil with compost or well-rotted manure to improve its structure and nutrient content.
A special secret weapon for many experienced pea growers is a seed inoculant. These contain beneficial bacteria (Rhizobium leguminosarum) that form a symbiotic relationship with pea roots, helping them fix nitrogen from the air into the soil. This natural nitrogen boost encourages stronger, healthier plants and significantly higher yields, resulting in bigger plants and a more abundant harvest. Simply mix your pre-sprouted seeds with the inoculant just before planting according to product instructions.
Step 2: Planting Your Pre-Sprouted Peas with Precision
With your seeds ready and your soil prepared, it’s time to get those peas into the ground! This step involves thoughtful placement and initial care.
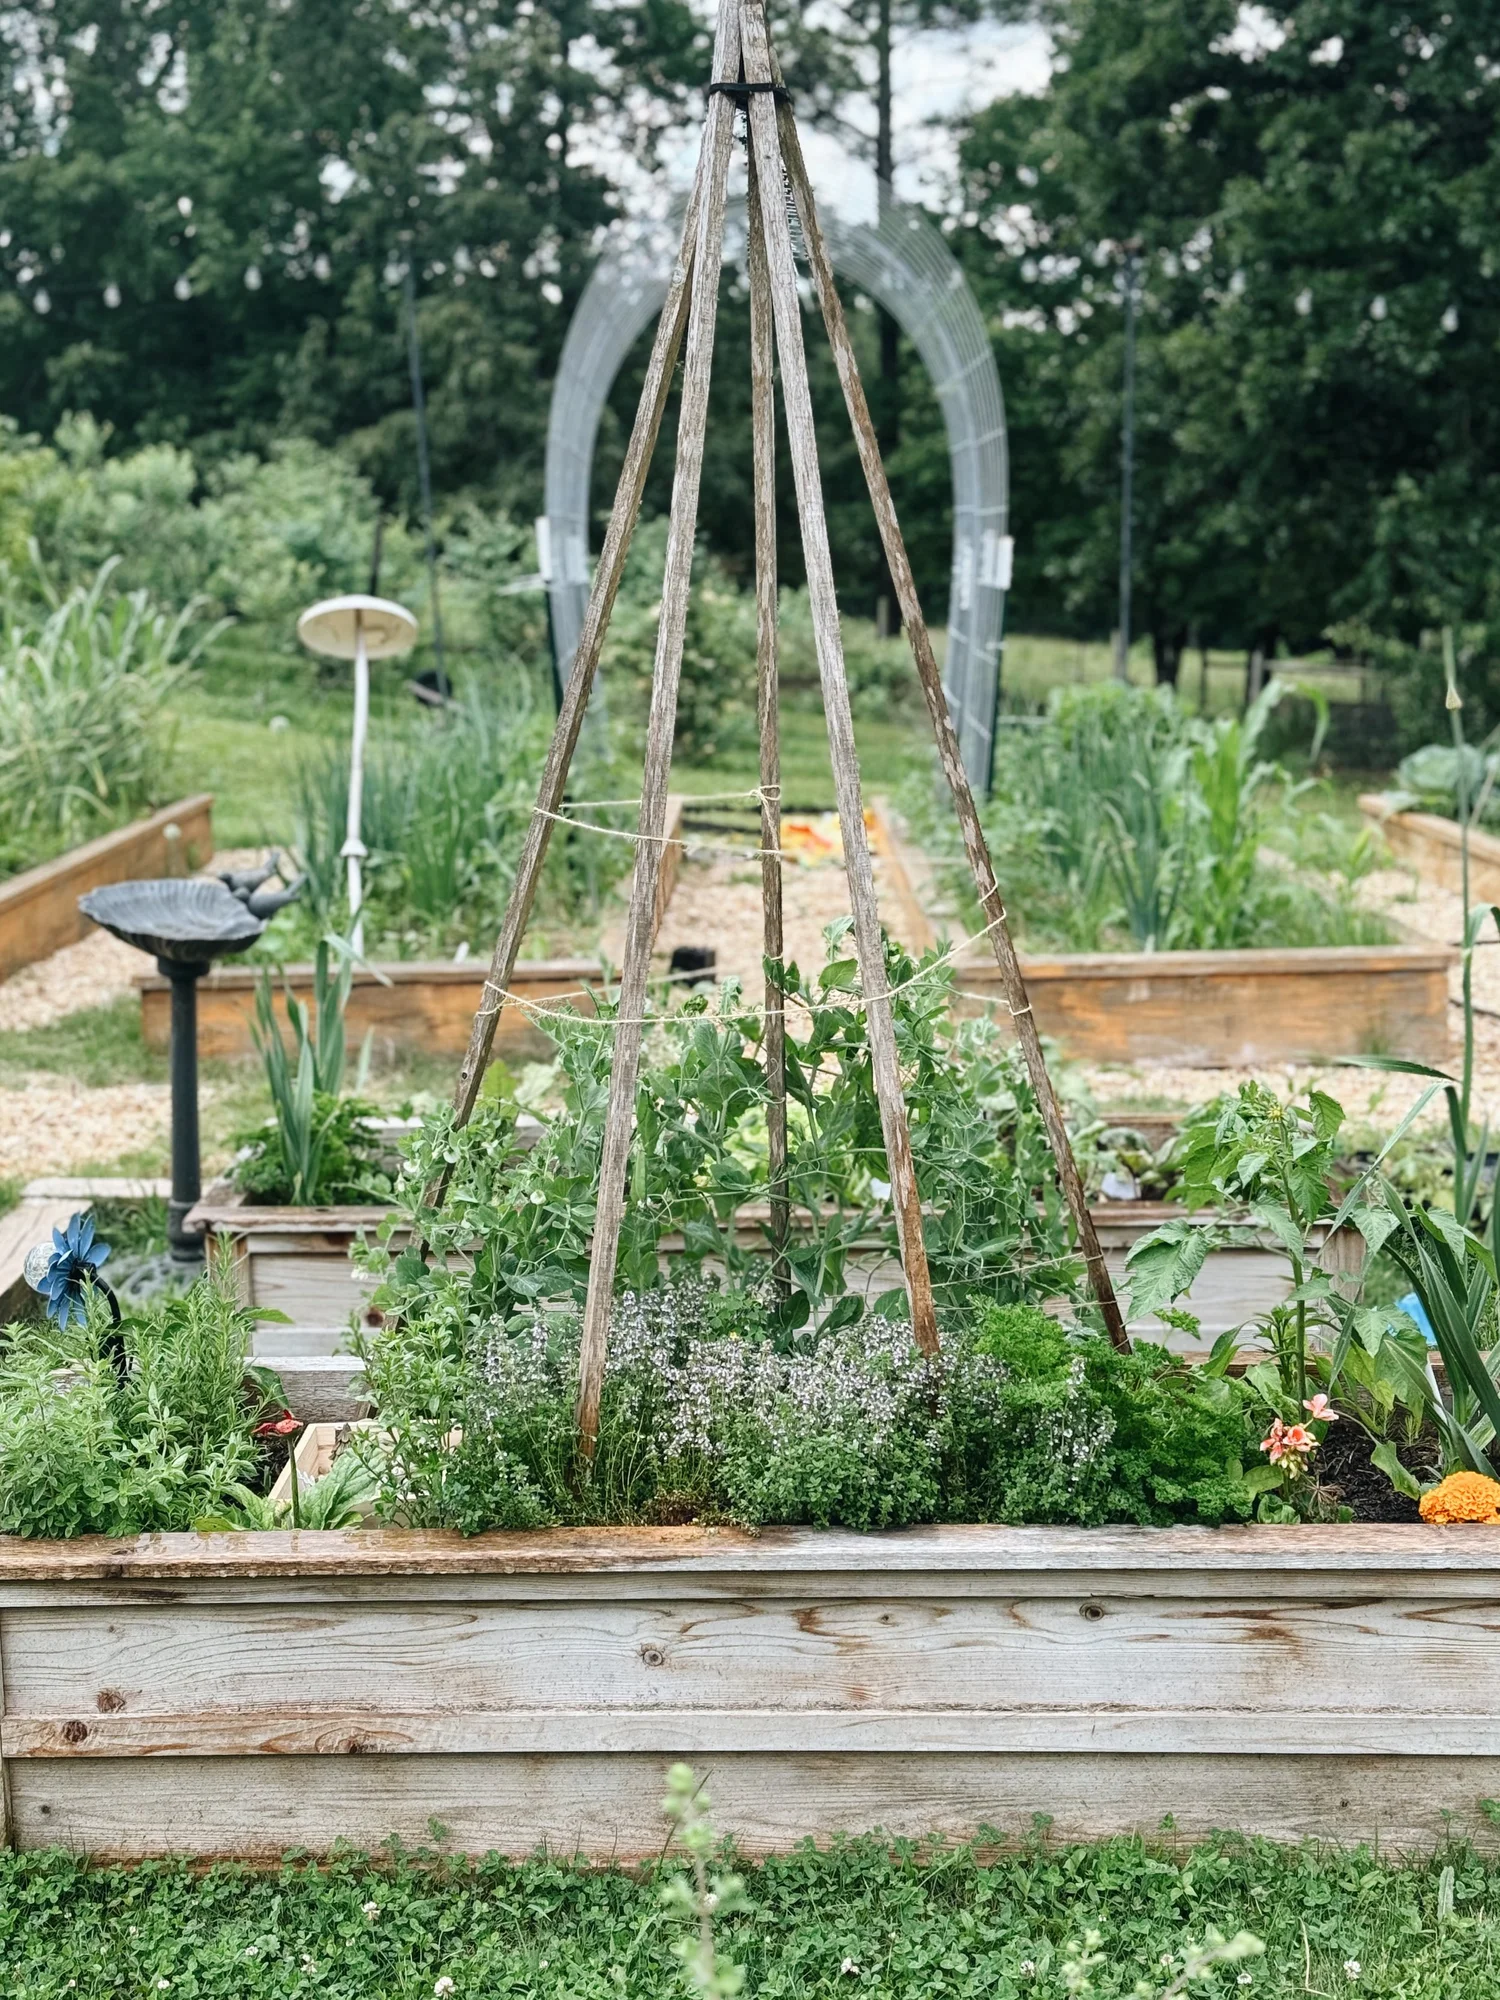
Establish Support Systems
Most sugar snap pea varieties are vining plants that require a trellis, fence, or stakes to climb. Installing your support system *before* planting is much easier than trying to do so once the plants have grown. Peas can grow quite tall, often reaching 4-8 feet, so ensure your support is sturdy and tall enough to accommodate their vigorous growth. A simple trellis or even a few bamboo stakes connected with twine will work wonders. The pea tendrils will naturally grasp onto the support as they grow, reaching for the sunlight.
Planting Methods and Spacing
There are a couple of effective ways to plant your pre-sprouted peas, depending on your garden setup and desired density:
- Trench Method (for rows): For longer rows or planting along a fence, dig a shallow trench about 1-2 inches deep. Gently place your pre-sprouted peas into the trench, spacing them approximately 2-3 inches apart. This method is excellent for maximizing space along a linear support.
- Individual Hole Method (for beds or containers): If you're planting in a square foot garden or a raised bed, you might prefer to poke individual holes about 1-2 inches deep and 3-4 inches apart in a grid pattern. Drop one pre-sprouted pea into each hole. This method works well for intensive planting, such as planting 49 peas (7 rows of 7) in a 4x4 foot bed, as some dedicated gardeners do!
Regardless of the method, ensure your peas are planted about 1-2 inches deep. This allows them enough soil coverage while still being able to emerge relatively quickly.
Gentle Care After Planting
Once all your peas are in place, gently cover them with soil. Lightly press down on the soil with your hands to ensure good seed-to-soil contact. This helps to eliminate air pockets and stabilizes the seeds. Finish by sprinkling the newly planted area with water. A gentle spray is best to avoid disturbing the seeds.
Now comes the exciting part: the wait! Within a week to 10 days, you should start seeing the first tiny pea shoots emerge from the soil. Once the first one appears, the rest will usually follow quickly, turning your garden bed into a sea of vibrant green.
Step 3: Nurturing Your Sugar Snap Peas to a Bountiful Harvest
With your peas successfully planted, the next phase involves providing consistent care to ensure a healthy and productive crop.
Watering and Monitoring
Consistent moisture is key for sugar snap peas, especially during flowering and pod development. Aim for about 1 inch of water per week, either from rainfall or supplemental irrigation. Check the soil regularly; it should feel consistently damp but not waterlogged. Overwatering can lead to root rot, while under-watering can stress the plants and reduce yields. As your plants grow taller, mulching around the base can help retain soil moisture and suppress weeds.
Pest and Disease Watch
While generally robust, sugar snap peas can sometimes fall prey to common garden pests or diseases. Keep an eye out for:
- Aphids: Small, soft-bodied insects that cluster on new growth. A strong spray of water or an application of insecticidal soap can usually control them.
- Powdery Mildew: A white, powdery fungal growth on leaves, especially in humid conditions. Ensure good air circulation and consider using an organic fungicide if it becomes severe.
- Pea Weevils: Small beetles that lay eggs on developing pods. Inspect your pods regularly.
Healthy soil and proper spacing can go a long way in preventing many issues, as strong plants are more resistant to pests and diseases.
Harvesting Your Sweet Rewards
Sugar snap peas are typically ready for harvest 60-70 days after planting. You’ll know they are ready when the pods are plump, firm, and have a vibrant green color. They should “snap” crisply when bent. Pick them regularly, every 1-2 days, to encourage continuous production. The more you pick, the more the plants will produce! Use two hands when harvesting to avoid damaging the vine – one hand to hold the stem, the other to pull the pea pod.
Enjoying the Harvest
Once harvested, sugar snap peas are best enjoyed fresh. Munch on them raw straight from the vine, add them to salads for a sweet crunch, or lightly steam them as a vibrant side dish. They also freeze well if you find yourself with an abundance. The taste of homegrown sugar snap peas is a true testament to the rewards of gardening – a flavor that simply can’t be replicated by anything else.
In conclusion,
planting sugar snap peas for spring is an incredibly rewarding endeavor that brings freshness, flavor, and a touch of spring magic to your home garden. By following these three easy steps – preparing your seeds and soil, planting with care, and nurturing your growing plants – you’ll be well on your way to enjoying a bountiful harvest of these delicious, crisp pods. So, roll up your sleeves, embrace the enthusiasm of the season, and get ready to grow your own garden full of sweet success!